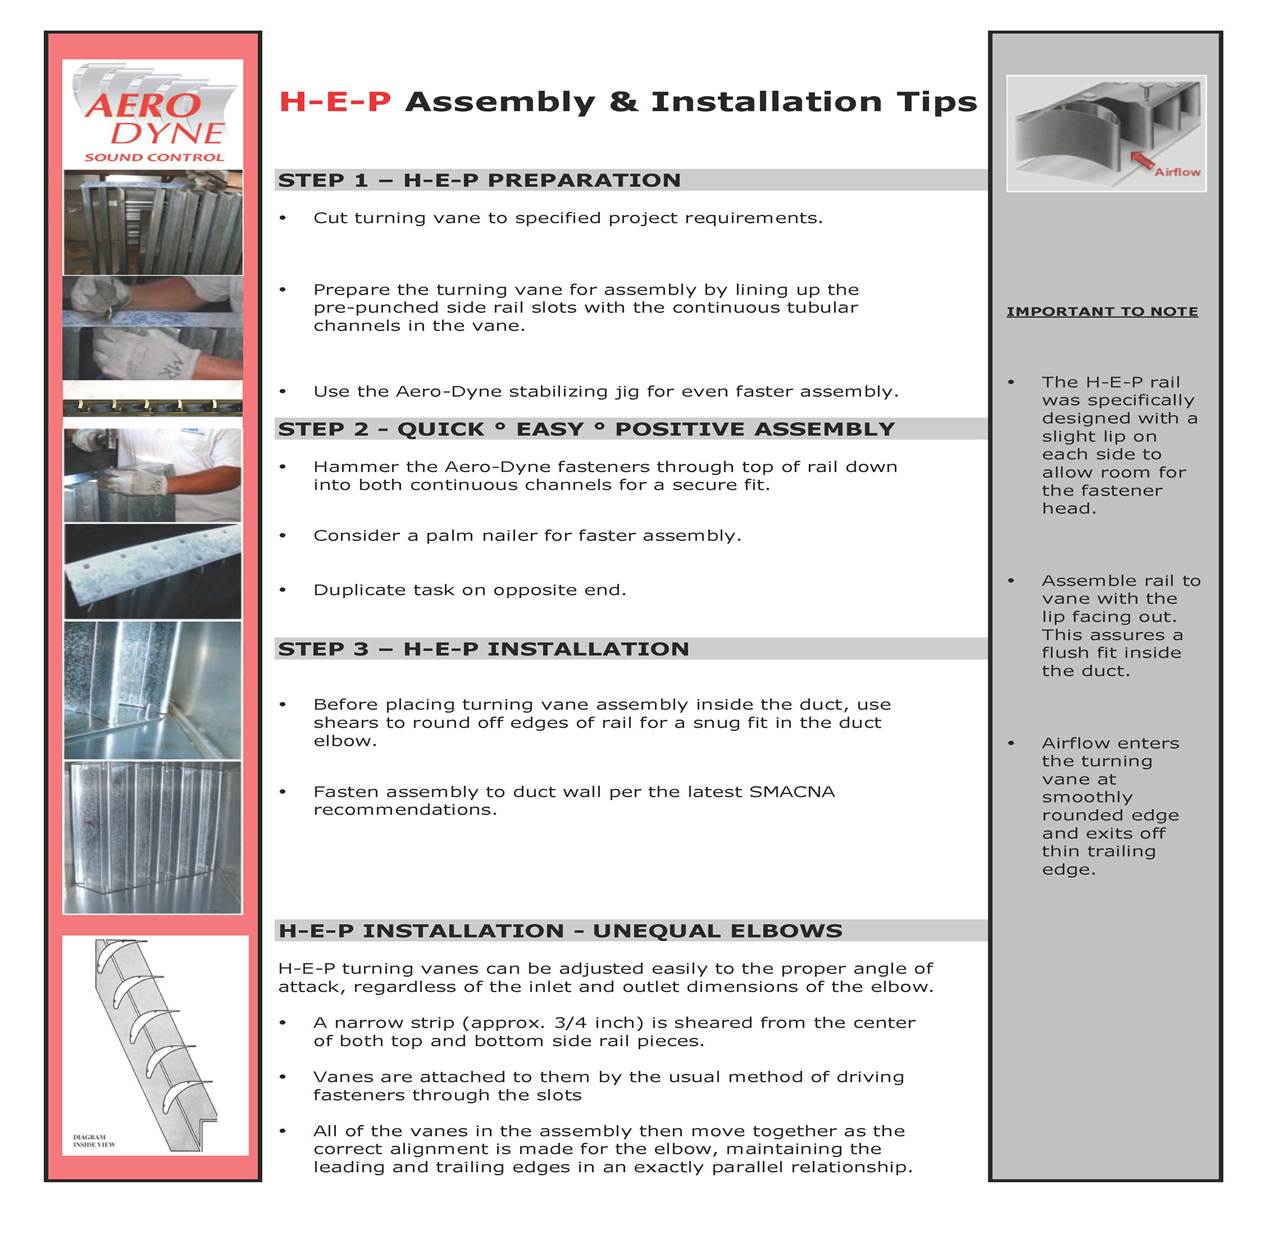
The following are instructions for how to assemble and install Aero-Dyne’s Turning Vane and Rail System.
For more information, please contact our office directly at 800-522-2423. We are available Monday – Friday 8 am to 5 pm EST to answer questions and process orders.
Click Here to Download Printer Friendly Version (as seen below)
STEP 1: H-E-P Preparation
- Cut turning vane to specified project requirements
- Prepare the turning vane for assembly by lining up the pre-punched side rail slots with the continuous tubular channels in the vane
Use the Aero-Dyne stabilizing jig for even faster assembly
STEP 2: Quick, Easy, Positive Assembly
- Hammer the Aero-Dyne fasteners through the top of the rail down into both continuous channels for a secure fit
- Consider a palm nailer for faster assembly
- Duplicate task on the opposite end
STEP 3: H-E-P Installation
- Before placing the turning vane assembly inside the duct, use shears to round off the edges of the rail for a snug fit in the duct elbow
- Fasten assembly to duct wall per the latest SMACNA recommendations
H-E-P Installation – Unequal Elbows
H-E-P turning vanes can be adjusted easily to the proper angle of attack, regardless of the inlet and outlet dimensions of the elbow
A narrow strip (approx. 3/4 inch) is sheared from the center of both top and bottom side rail pieces
- Vanes are attached to them by the usual method of driving fasteners through the slots
- All of the vanes in the assembly then move together as the correct alignment is made for the elbow, maintaining the leading and trailing edges in an exactly parallel relationship.
Also Important to Note:
- The H-E-P rail was specifically designed with a slight lip on each side to allow room for the fastener head
- Assemble the rail to the vane with the lip facing out. This assures a flush fit inside the duct
- Airflow enters the turning vane at a smoothly rounded edge and exits off a thin trailing edge
Click Here to Download Printer Friendly Version (as seen below)


